So I decided to create an MSX game
I always found that developing a game should be the apex of a programmer’s capability and the strongest way to prove one person’s skill and since I don’t have a background in development anything related to the subject always fell like some arcane magic and the spiritual invocation was involved in the process. But recently I decided to put my lack of confidence aside and try to develop something for the MSX machine from scratch.
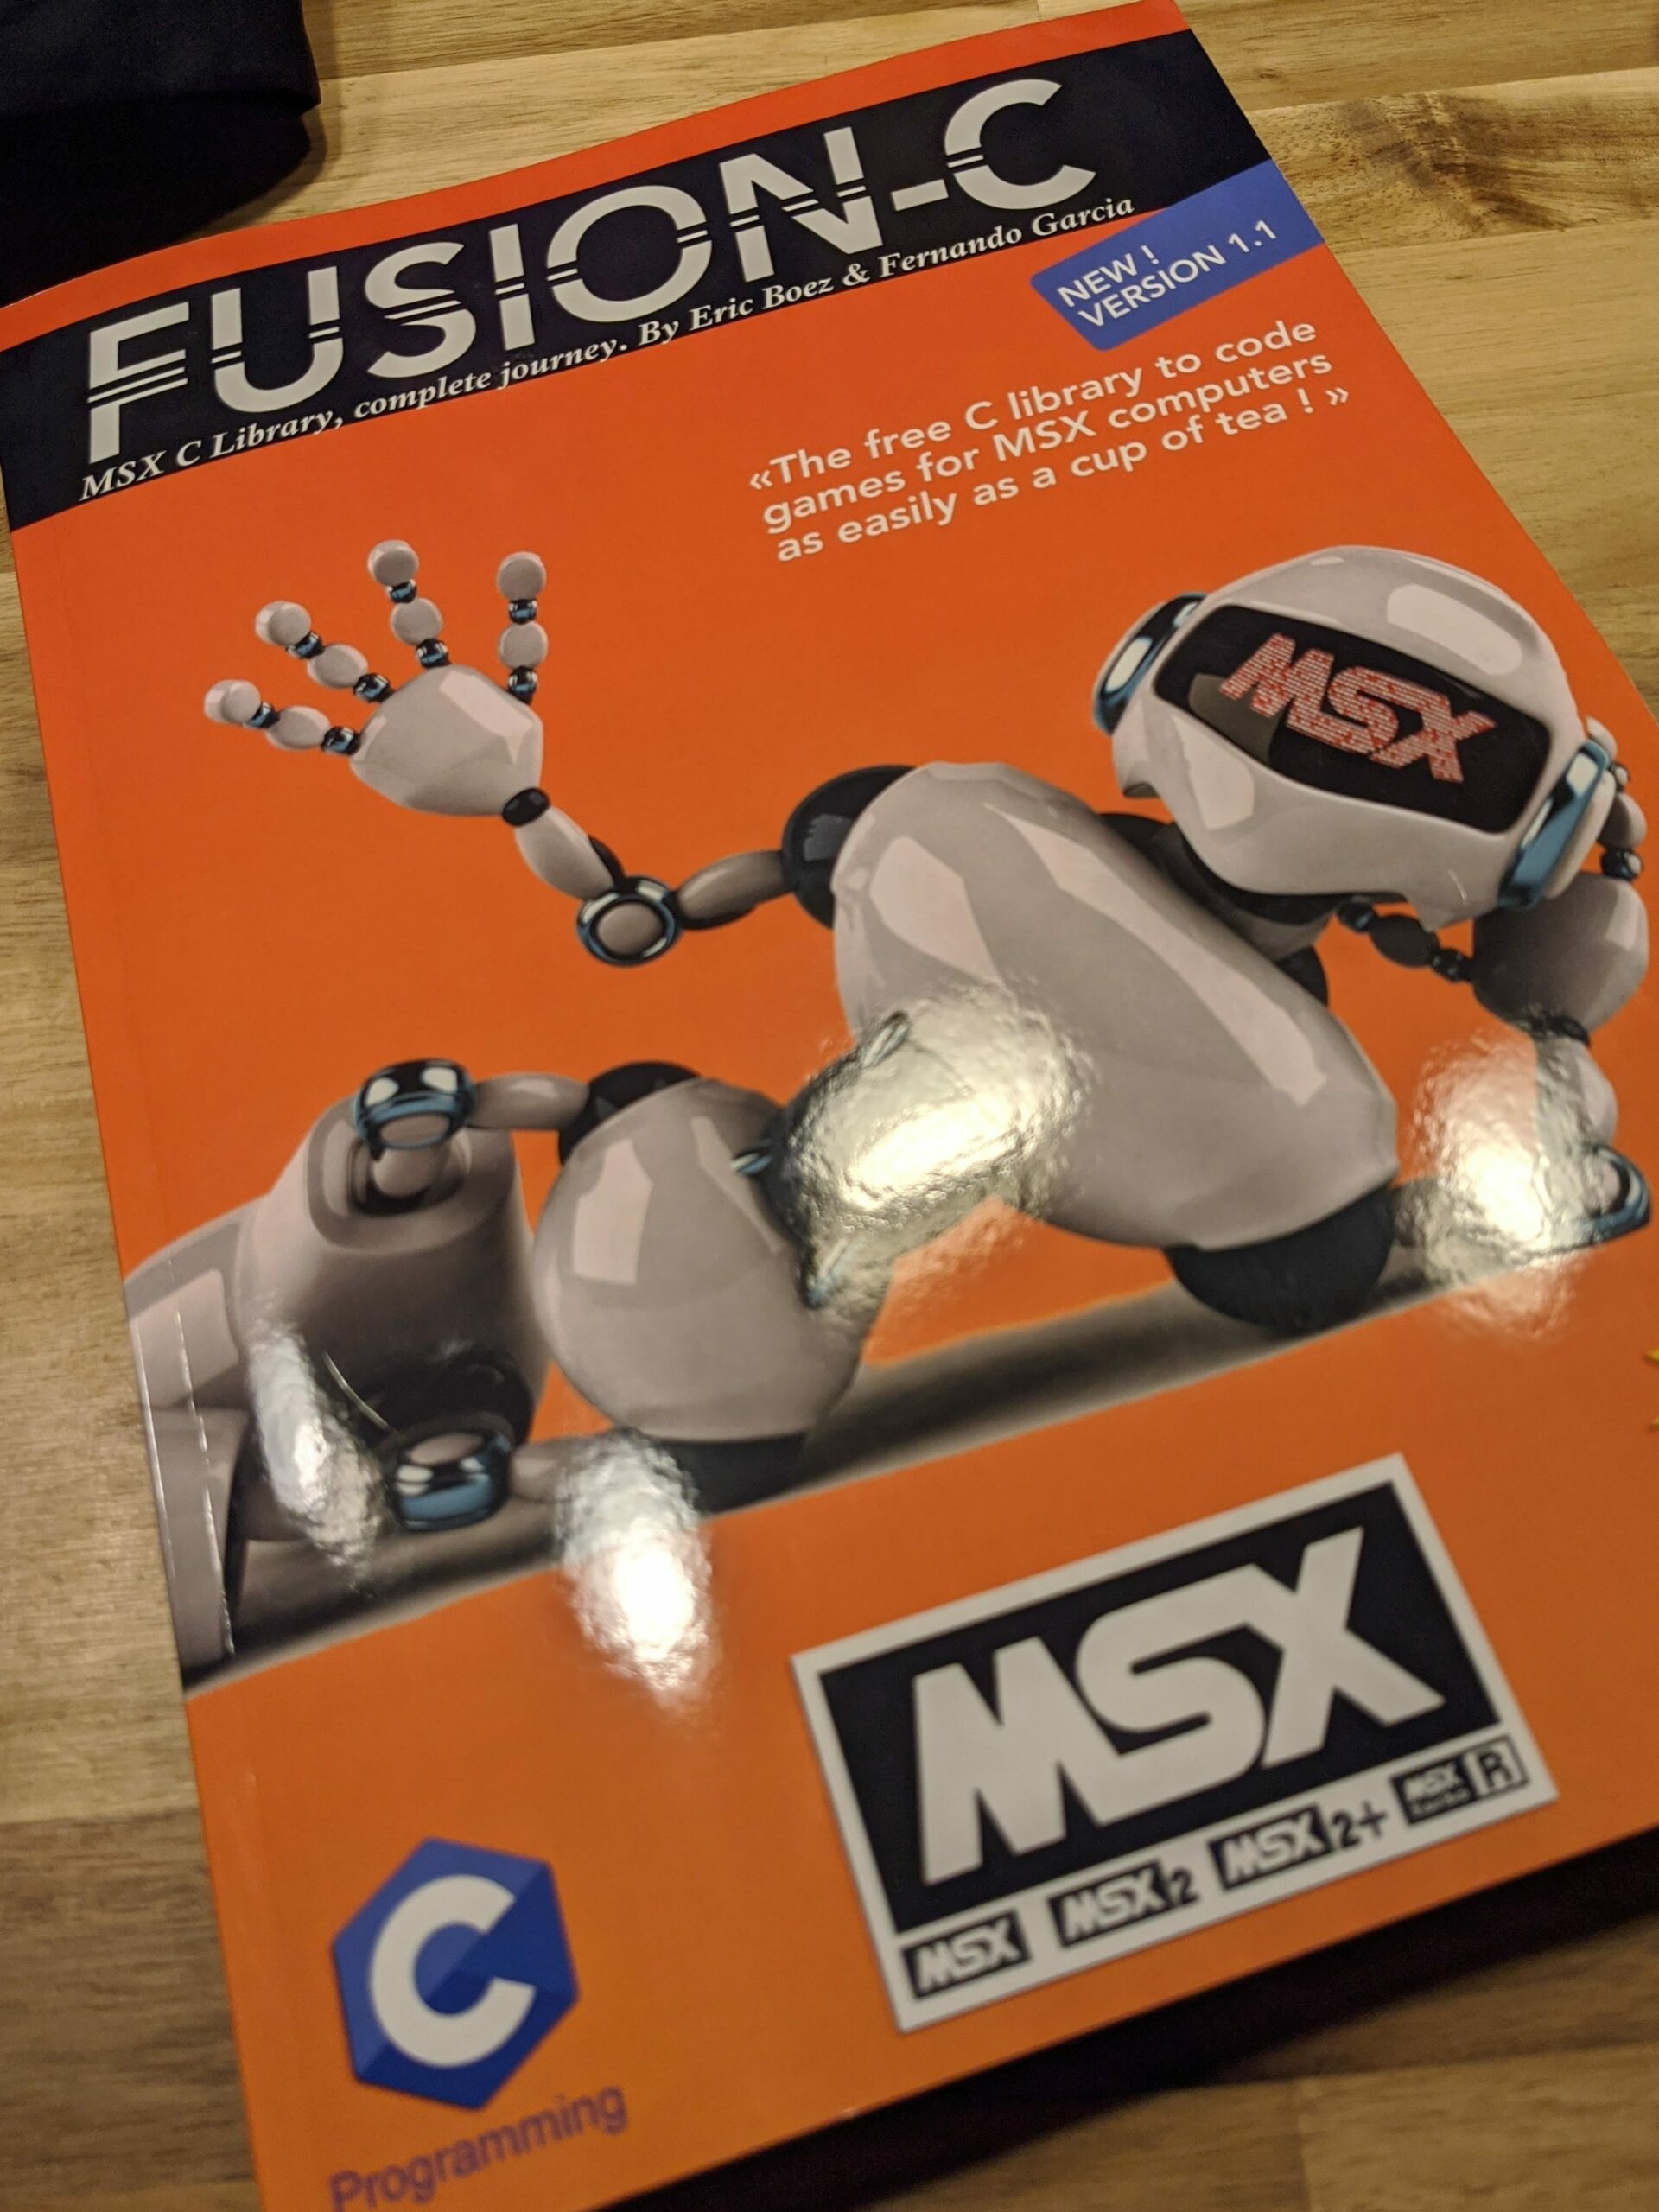
My initial attempt was using the Fusion-C library, so I went after the official book and tried a few lines of code and could compile and execute the program on OpenMSX after a couple of nights working on the kinks of the environment.
As suggested by a friend from Brazil I was trying to make something that could look like Atari’s Laser Gates, and using Jannone’s TinySprite I could replicate some of the sprites from the game like the main spaceship and some enemies, but due to my lack of skills and knowledge of MSX nuts and bolts, the results weren’t so good at the time, as we can see below.
At the time I realized that copying and pasting snippets from examples wouldn’t help me at all improve the results from my code, and my lack of knowledge about the architecture was preventing me to go forward.
I put the whole thing aside for some time and moved to other projects, but in the second half of 2021 the urge to learn and create something hit me again, so I went after some other books like “Learn Multiplatform assembly program with ChibiAkumas” and the “MSX technical data book” for additional details about the platform, and I finally dove heads down into the amazing and frightening work of MSX Assembly
How did I start?
Reading the books and web pages I noticed that in general it’s recommended to start the learning path by understanding the following basic subjects:
- How the Z80 processor works
- Binary and hexadecimal calculation
- The complete MSX architecture
- The TMS9918 VDP architecture and registers
- Invoking ancient beings and sumoning spirits
As a good odd type of person, I simply decided to go straight to the assembly code, knowing that I would need to reach out for more information about basic subjects when needed, moving ahead with just enough knowledge to make something run. This is a risky action but I’m not afraid to scratch everything and start from zero again if I get stuck, and no harm could happen from this apart from wasting my available time in the process. To be honest, this method is not the most recommended and can be really frustrating, but advancing any step feels like a huge achievement.
It’s amazing the number of available resources today to develop for the MSX platform if you search the net a little, from programming straight on the original hardware to Web-based emulators with quick ASM compiling. I tried a few of the options available but in the end decide to start my learning path using the MSXPen site, since it provides a very straightforward process to execute the ASM program without requiring moving files around or running emulators in my local machine.
Explaining is the best way to learn
Cutting to the chase, I want to explain the things I learned in the most simplified way, which will help me to absorb better the information and also help anyone interested to discover how to program in Assembly for the MSX, and eventually have something to show at the end of this path.
In my articles, I will use MSXPen as the main tool for the activities but eventually, I might include other tools. My goal is to explain and provide resources to anyone to replicate my actions without too much hassle.
The MSXPen site comes with a simple “Hello world?” code, so my first step was to comment on all lines to understand how the program works:
; bios call to print a character on screen
CHPUT:      equ 0x00a2

            ; the address of our program
            org 0xD000

start:
            ld hl, message
mainLoop:   ld a, (hl)
            cp 0
            ret z
            call CHPUT
            inc hl
            jr mainLoop

message:
            db "Hello world!",0

            ; use the label "start" as the entry point
            end start
The program starts by defining a constant for the CHPUT
The org0xD000 works perfectly and it’s all we are looking for.
MSXPen compiler wraps the code with the start: and end start statements, so it’s nice to keep it this way for now. We see that the first actual command is ld hl, message, which basically means “load into the register HL the variable message”, but this doesn’t mean that the whole content from the variable will be loaded into the register and we will see soon how assembly works around that.
Next, we have the mainLoop: section and there is a very good reason for creating it there. The sections we define in the code didn’t end up in the final program but are used as a pointer for the compiler so it knows where in the memory the program might need to jump eventually. The first command at mainLoop is ld a, (hl), which means “load in register A the position from the memory pointed by HL“, which is exactly the first character of the variable message. But why not go ahead and load message into A instead? Simply, the system will need to go through all characters from the variable since it cannot load the whole data into A (an 8 bit register) and ask CHPUT to print that at the screen.
The cp 0 compares the content from register A with zero, and raises a special flag named Z if true. This is how I create an IF-like statement in the assembly code, transferring the code execution to another position when needed. Then the ret z statement means “return to the part of the program that called this routine, and if there is none return to BASIC”. So we can figure out that when the HL register points to the value 0, the routine will finish and the program will end, returning the system control back to BASIC, DOS, or whatever was running before the program was executed.
The following command is call CHPUT, which invokes the BIOS routine stored at the position 0x00a2 of the Main ROM responsible to print things at the display. This is the definition of this routine found at the grauw.nl site:
CHPUT
Address  : #00A2
Function : Displays one character
Input    : A  - ASCII code of character to display
The function basically gets the value from register A and prints it at the screen. Where it will printed is not a concern for this routine, so the character will be displayed at the current cursos position and then it will move the cursor to the next column or line at the screen. Simply like that.
Now we have some important action at the next line of code: inc hl. This will increase the value of HL, meaning that now the register points to the second character of the string defined by the message variable. This is how the code goes through all the characters defined by the DB statement and calls CHPUT to all of them until 0 is loaded into HL, which causes the CP 0 command to raise the Z flag and return the execution back to BASIC or wherever the program was executed.
Then finally we have the jr mainLoop, which will constantly return the code execution back to the memory position defined by the mainLoop label until something else interrupts the loop, in this case the CP 0 / RET Z duo.
The end of the code contains the message section with the DB (Define Byte) with the "Hello world!" message, followed by the 0 value that ends the loop when CP 0 is invoked.
Is all this too confusing? May be a little, but messing around with the Hello world code we can learn the basics of MSX assembly and do some crazy stuff like removing the CP 0 and RET Z statements just to see the MSX system going nuts, printing garbage and beeping like crazy until the whole system crashed. It’s really fun, you should try that!
That’s all, folks!
I will stop right here for now and come back with more explained codes in the next articles, but I will appreciate any suggestions and recommendations for the next ones. Thanks and happy learning!
I always found that developing a game should be the apex of a programmer’s capability and the strongest way to prove one person’s skill and since I don’t have a background in development anything related to the subject always fell like some arcane magic and the spiritual invocation was involved in the process. But recently…
Excelente artigo! Percebi que os comandos \n e \r, típicos de outras linguagens, funcionam dentro dos caracteres da mensagem, possibilitando escrever textos mais longos também. Muito legal.
Sim! Eu vou abordar isso no próximo artigo, quando falar sobre como mudar os caracteres.