Let’s make an MSX game – Structure and Organization
A couple of weeks ago we started the game concept design and added some basic code that resulted in our sprite being loaded in the graphic mode screen, which was nice and fun. The problem is that our code looks and feels rushed, with lots of hard-coded memory addresses and repeated commands all over the place. Today we are going to organize the whole thing and ensure that the future additions will always respect a minimal structure standard which will become familiar to us in the next articles and make it easier to maintain the program when any update or fix is required.
We gotta be inclusive, always
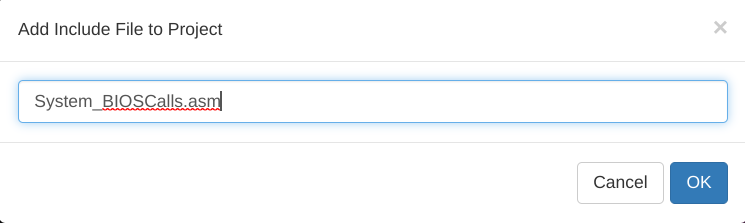
Most of the assembly compilers support the use of the include statement to add external code into the main program file, and the 8bitworkshop IDE is not different related to this feature. To add an external file to our code we just need to choose where we want to have the statement added to the code, go to the IDE menu, then select File and Add Include File, then enter the file name we want to use, then click in OK. I will create my first included file name System_BIOSCalls.asm and then move the existing BIOS routines to this new file:
We will notice that the include statement is automatically added to the code, and at the left side menu we will find the new file name showing in the list:

Clicking on the file name in the menu will show an empty code window, so now we can cust cut the BIOS routine entries from TheMeteorGame.asm file into this new one:
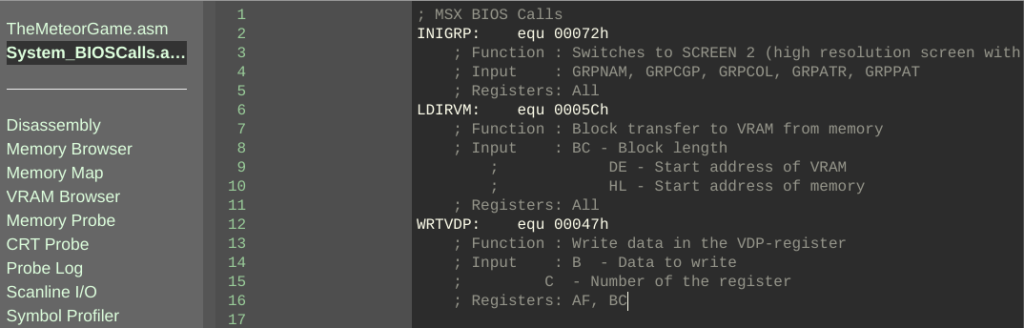
Notice that if you leave the code running in the IDE you will get a lot of errors after cutting the code from the main file, but everything is fixed again after pasting the lines in the new file. This is important to observe since we want the code to behave the same way as it was when all code lines were located in the same file.
I also took the opportunity and created the System_SystemVariables.asm file, then moved the variable entries from the main code to this other place, and also the System_CartridgeHeader.asm to remove the cartridge header from the main code and keep things tight. Notice that the org statement still needs to be positioned before the header statement, otherwise the program will not work properly:
Remember that crazy Set16x16Sprites routine we added in the last article to make the VDP understand that16x16 pixels is the sprite size we want to use and not the 8×8 size which is the default for the TMS9918, why not also move these lines to another file specific for graphic routines? I created the Function_SetScreen.asm file to hold any code related to screen settings, then moved the code there.
Work smart, not hard
Moving code around is easy but there is a limit to how useful It can be. I’m aiming to have a reusable code and avoid having to repeat the same commands through the program, and a way to achieve this that I found was to use memory addresses as variables, then call the routines after setting the variable values. Too complicated? Let me demonstrate and make it easier to understand.
I will take the lines that change the values of the foreground, background, and border colors and move this whole section to the Function_SetScreen.asm file, and make it use the registers B,C, and D to set the color values:
; Sets the foreground, background and border colors, calling INITGRP after
InitGraphicMode:
	ld hl,FORCLR		; Loads FORCLR sys variable in HL
        ld (hl),b		; Loads the value from B into the position pointed by HL
        ld hl,BAKCLR		; Loads BAKCLR sys variable in HL
        ld (hl),c		; Loads the value from B into the position pointed by HL
        ld hl,BDRCLR		; Loads BDCLR sys variable in HL
        ld (hl),d		; Loads the value from B into the position pointed by HL
        call INIGRP		; Initializes the VDP graphic mode

        ret			; Return to the caller routine
Next, we need to replace the code from the main file with the lines below, which loads the registers with the color values desired then calls the routine InitGraphicMode we created in the Function_SetScreen.asm file:
Init:
	;Let's initialize the screen colors
	ld b,15			; Foreground color
        ld c,13			; Background color
        ld d,13			; Border color
        call InitGraphicMode	; Initializes graphic mode with the color at BCD
We basically replaced the 7 lines of code from the original code with a total of 14 lines in the new code which doesn’t seem to be an improvement at all, but keep in mind that we will probably change the colors again in the future during the game development, which will justify this change eventually.
Code is a hard thing when things are hard coded.
In the previous article, I used the VRAM addresses to load the patterns and attributes of each sprite in the memory. This required some manual calculation to figure out where the next values should be loaded, and also made the code quite inflexible and hard to read and maintain.
Gladly, the MSX BIOS has two routines that calculate the memory address of the sprite based on their ID loaded in A, and return the value in the HL register, making it easy to understand and change the code:
CALPAT:	   equ 00084h	; Function : Returns the address of the sprite pattern table
          		; Input    : A  - Sprite ID
          		; Output   : HL - For the address
          		; Registers: AF, DE, HL
CALATR:    equ: 00087h	; Function : Returns the address of the sprite attribute table
              		; Input    : A  - Sprite number
              		; Output   : HL - For the address
              		; Registers: AF, DE, HL
CALPAT will load in HL the VRAM position related to the sprite pattern whose ID is loaded in A before calling the routine, and CALATR will do the same but this time for the sprite’s attributes. Notice that there is a little catch here because the next step is to use LDIRVM to move the pattern and attributes data from RAM to VRAM, but the routine requires that the pattern address is loaded in HL and VRAM address in DE, and CALPAT/CALATR will return the target address in HL!
LDIRVM:    equ 0005Ch	; Function : Block transfer to VRAM from memory
    			; Input    : BC - Block length
    			;            DE - Start address of VRAM
    			;            HL - Start address of memory
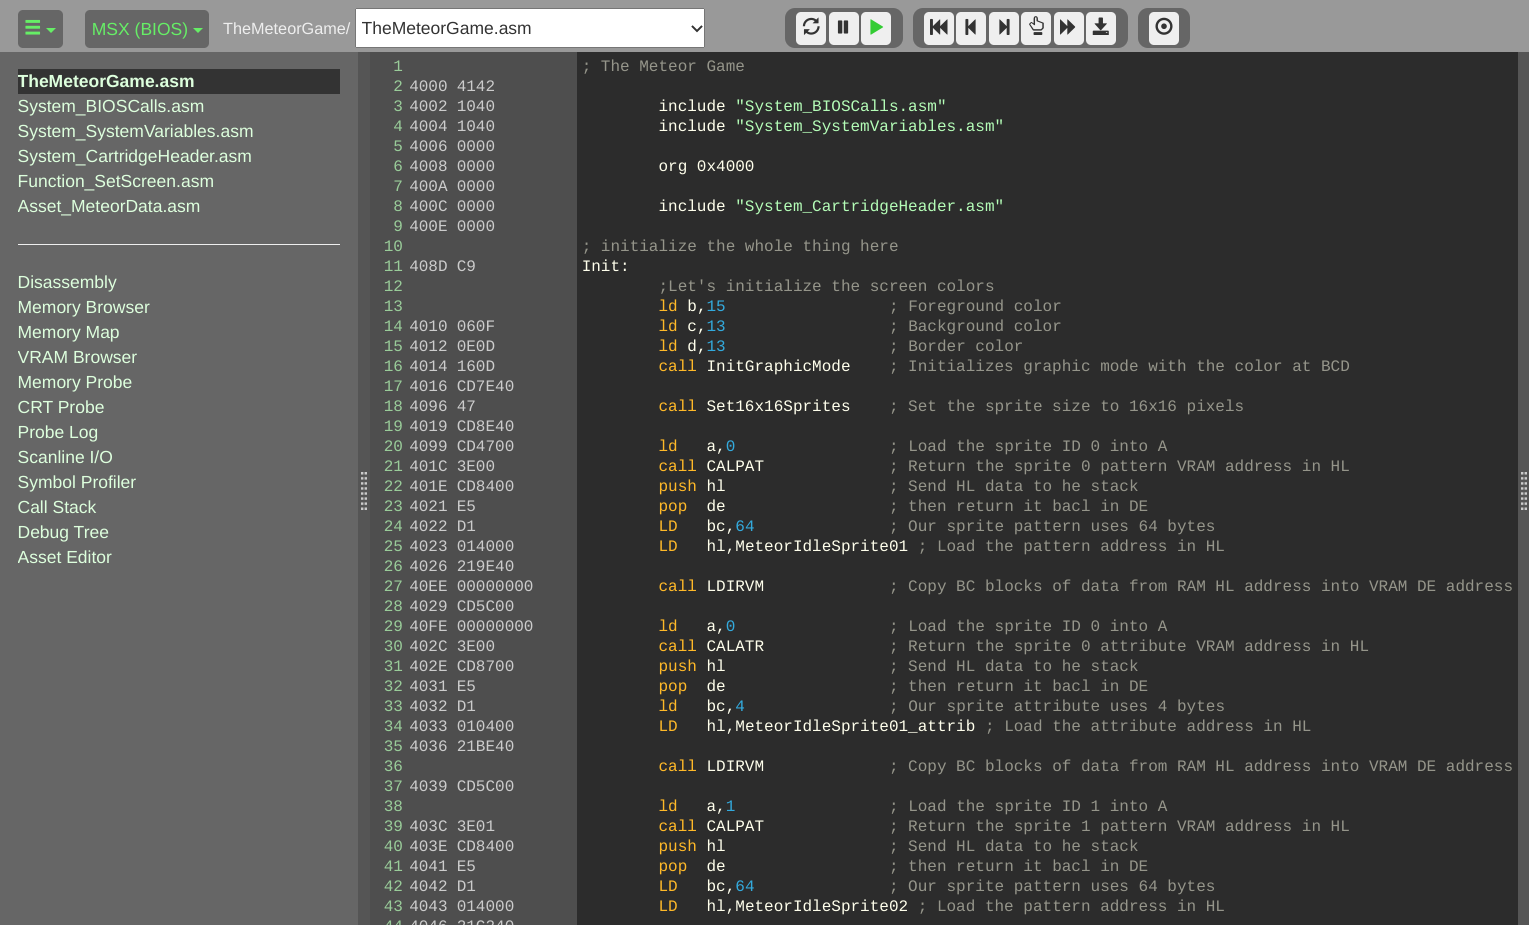
Since the is no command that loads HL into DE directly, there is a quick way to do this: PUSHing HL content into the stack and then POPing it back in DE. Here is the code snippet that loads the sprite with id 0 into the VRAM:
        ld   a,0		; Load the sprite ID 0 into A
        call CALPAT		; Return the sprite 0 pattern VRAM address in HL
        push hl			; Send HL data to he stack
        pop  de			; then return it bacl in DE
        LD   bc,64		; Our sprite pattern uses 64 bytes
        LD   hl,MeteorIdleSprite01 ; Load the pattern address in HL

        call LDIRVM		; Copy BC blocks of data from RAM HL address into VRAM DE address

        ld   a,0		; Load the sprite ID 0 into A
        call CALATR		; Return the sprite 0 attribute VRAM address in HL
        push hl			; Send HL data to he stack
        pop  de			; then return it bacl in DE
        ld   bc,4		; Our sprite attribute uses 4 bytes
        LD   hl,MeteorIdleSprite01_attrib ; Load the attribute address in HL

        call LDIRVM		; Copy BC blocks of data from RAM HL address into VRAM DE address
To load the next 3 sprites all we need to do is duplicate these code lines replacing the value loaded into A and the labels related to the sprite’s patterns and attributes. Once again this change is not actually reducing the code size nor avoiding code repetition, but it’s easier to understand and maintain, and also makes it easier to improve the routine in the future, which we will do in the next article.
One final touch before wrapping up for the day
There is another section of the code that we can move to another file: the sprite patterns and attributes. For that, I’ve created the include file “Asset_MeteorData.asm”, then moved the labels with the hexadecimal values from the main code to this file, which now looks like this:
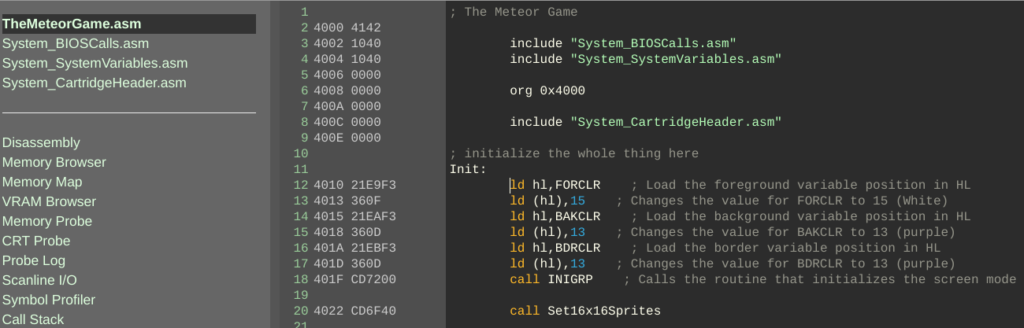
; The Meteor Game

	include "System_BIOSCalls.asm"
	include "System_SystemVariables.asm"

	org 0x4000

	include "System_CartridgeHeader.asm"

; initialize the whole thing here
Init:
	;Let's initialize the screen colors
	ld b,15			; Foreground color
        ld c,13			; Background color
        ld d,13			; Border color
        call InitGraphicMode	; Initializes graphic mode with the color at BCD

        call Set16x16Sprites	; Set the sprite size to 16x16 pixels

        ld   a,0		; Load the sprite ID 0 into A
        call CALPAT		; Return the sprite 0 pattern VRAM address in HL
        push hl			; Send HL data to he stack
        pop  de			; then return it bacl in DE
        LD   bc,64		; Our sprite pattern uses 64 bytes
        LD   hl,MeteorIdleSprite01 ; Load the pattern address in HL

        call LDIRVM		; Copy BC blocks of data from RAM HL address into VRAM DE address

        ld   a,0		; Load the sprite ID 0 into A
        call CALATR		; Return the sprite 0 attribute VRAM address in HL
        push hl			; Send HL data to he stack
        pop  de			; then return it bacl in DE
        ld   bc,4		; Our sprite attribute uses 4 bytes
        LD   hl,MeteorIdleSprite01_attrib ; Load the attribute address in HL

        call LDIRVM		; Copy BC blocks of data from RAM HL address into VRAM DE address

        ld   a,1		; Load the sprite ID 1 into A
        call CALPAT		; Return the sprite 1 pattern VRAM address in HL
        push hl			; Send HL data to he stack
        pop  de			; then return it bacl in DE
        LD   bc,64		; Our sprite pattern uses 64 bytes
        LD   hl,MeteorIdleSprite02 ; Load the pattern address in HL

        call LDIRVM		; Copy BC blocks of data from RAM HL address into VRAM DE address

        ld   a,1		; Load the sprite ID 1 into A
        call CALATR		; Return the sprite 1 attribute VRAM address in HL
        push hl			; Send HL data to he stack
        pop  de			; then return it bacl in DE
        ld   bc,4		; Our sprite attribute uses 4 bytes
        LD   hl,MeteorIdleSprite02_attrib ; Load the attribute address in HL

        call LDIRVM		; Copy BC blocks of data from RAM HL address into VRAM DE address
        ld   a,2		; Load the sprite ID 2 into A
        call CALPAT		; Return the sprite 2 pattern VRAM address in HL
        push hl			; Send HL data to he stack
        pop  de			; then return it bacl in DE
        LD   bc,64		; Our sprite pattern uses 64 bytes
        LD   hl,MeteorIdleSprite03 ; Load the pattern address in HL

        call LDIRVM		; Copy BC blocks of data from RAM HL address into VRAM DE address

        ld   a,2		; Load the sprite ID 2 into A
        call CALATR		; Return the sprite 2 attribute VRAM address in HL
        push hl			; Send HL data to he stack
        pop  de			; then return it bacl in DE
        ld   bc,4		; Our sprite attribute uses 4 bytes
        LD   hl,MeteorIdleSprite03_attrib ; Load the attribute address in HL

        call LDIRVM		; Copy BC blocks of data from RAM HL address into VRAM DE address


ForeverLoop:
    jr ForeverLoop    ; Repeats the loop indefinitely


	include "Function_SetScreen.asm"
	include "Asset_MeteorData.asm"

        end Init
That’s all for now
We moved and changed quite a lot of our code, and it may be somehow disappointing that in the end there was no improvement in the actual game and we are still seeing the crazy meteor guy stuck at the same position on the screen, but believe me that this was really an excellent improvement done through this article and it will be really helpful in the future. The complete code is available at https://github.com/oddbitmachine/TheMeteorGame, so feel free to check out the progress done so far. We will be back soon to improve the sprite loading routine, so stay tuned!
A couple of weeks ago we started the game concept design and added some basic code that resulted in our sprite being loaded in the graphic mode screen, which was nice and fun. The problem is that our code looks and feels rushed, with lots of hard-coded memory addresses and repeated commands all over the…