Let’s make an MSX game – Starting now!
After studying, reading, and playing a lot with assembly code on the MSX, I finally decided to start to develop a proper game.
As Voltaire once said – “Perfect is the enemy of good”, and trying to achieve the best knowledge possible about the subject would end in a quest that could take years and I really want to have something to deliver now, so we will have to start with what we have now and improve as we proceed.
Please keep in mind that so far we have 0 games developed and published, so this will be a learning quest for both the writers and the readers of the article series. The upside is that we are going to talk the language at the same levels as anyone with zero knowledge of game development, but also means that we may talk a lot of bullcrap and use inefficient methods of designing, coding, asset creation, and any other aspect involved in the gaming development. We probably will need to add a professional developer in the process but at the same time, we want to keep the content available for free which may prevent this from happening soon. Let’s keep watching the outcome of the articles in the next months and come back to this subject in the future if needed.
This means that we will try to create these articles with the intention to provide the best and most didactic way to help anyone looking to create a game on the MSX today. In the future we will evolve the knowledge and include the MSX 2 and 2+ platforms as well, then at the end, we might also include other similar platforms in the process such as the ZX Spectrum, Amstrad, and others.
Our goals and constraints
During the last months, we studied several compilers, tools, libraries, and example codes to figure out what would be the most convenient way to create a game for the MSX for anyone interested in the subject.
Since not everyone may have a real MSX machine with all the modern hardware and basic peripherals to start coding without too much struggle, we simply avoided using this option. A good development environment would require at least a full working disk driver, an assembly program in a ROM or running in a mapper or MegaRAM cartridge, and possibly an SD interface or even some unobtanium parts for regular people such as the GR8NET. For game dev beginners, this could be too costly and hard to justify the investment.
We are also avoiding tools that require any specific operating system for now. There are some excellent compilers, tools, and IDEs out there which aren’t available to all platforms and are sometimes not updated to the latest operating system versions, and installing and maintaining the environment up and running could require too much effort which we could use for learning and creating things with the assembly language, so at this moment we are avoiding anything that involves any kind of installation.
So what was left for us? Any web-based online tools and there are enough of these to start the learning process and at least generate a complete 32Kb game ROM, which is our initial goal for this article series. We also want to keep the cost as low as possible, so free and open tools are our preferred ones until it becomes unavoidable, which might happen sometime in the future. As a bonus, we may identify missing opportunities to develop new tools and address that during the process, which means that if there isn’t a tool available for a specific task we can create it. This may sound like an aggressive goal, but with time and patience, we might get there eventually.
Selecting and sharpening the tools
So far we ran our code at the MSXPen online tool a lot, since it’s really easy to use, provides a fast emulation with several machines and hardware add-ons, and simply works. But as we used the tool we started to notice a few things that could avoid us from meeting the goals presented before:
- All programs are compiled as a BIN file that can be run from the virtual disk, and there is no option available to generate ROM files at the moment.
- The code will vanish as soon as you reload the page or close the browser. There is an option to share the code so we can save the link it creates to open the code again in the future, but this may not be something future-proof and not the best way to back up our work
- The Inspector tool is useful to see the values for each of the Z80 registers during the code execution, but that’s all it does. No memory map, no option to pause the code, or any other advanced tool.
- Navigating the code becomes really complicated as the size increases, and finding sections and commands can be quite time-consuming and annoying.
Don’t get me wrong, I’m not trying to diss the tool here, especially because I’m a huge fan of this app, and I will keep using it as a testing ground for the created programs as we will see in the future.
So what can we use in place of MSXPen? I chose the 8bitworkshop online tool 8BitShop IDE for the task.
The 8BitShop IDE: what’s that about?
The 8BitShop IDE is the creation of Steven Hugg, who among other incredible things also published a few books about game development for different platforms using his own tool, has a Twitter account where we can follow the latest news, and also provided the entire code of the tool on GitHub in case anyone wants to help improve the app or run it locally. They also accept donations through Patreon and Paypal, so don’t forget to send him a “thank you” in form of monetary values in case your game becomes a multimillion dollars success!
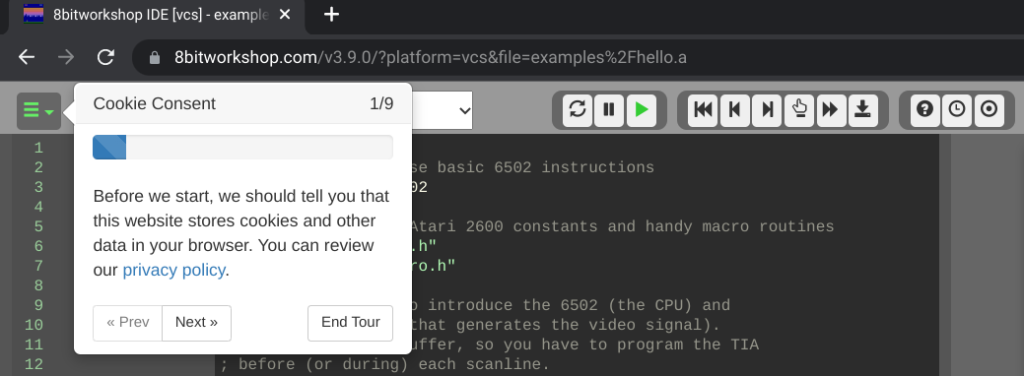
Accessing the site for the first time will take us to the Atari development section and a short tour through the main sections of the IDE, which we will take about with mode details ahead.
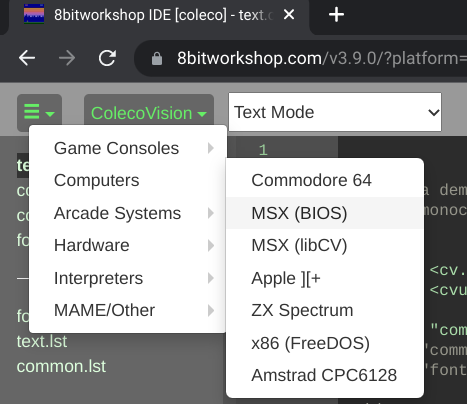
The amount of available platforms is outstanding, but for now, we are focusing on the MSX computer using the BIOS option.
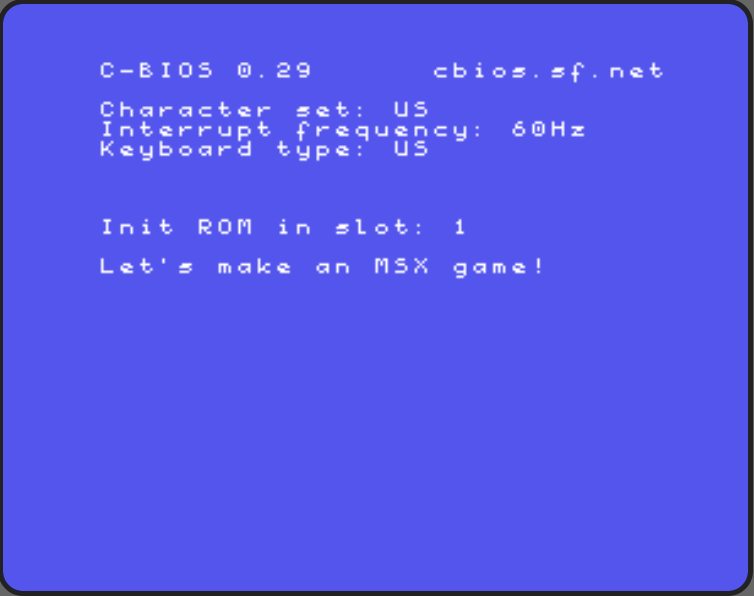
It’s important to notice that the system emulator doesn’t provide any commercial MSX ROM, and uses the C-BIOS in order to avoid copyright issues with the owners of the property. There is also the option to use the LibCV/LibCU library which allows development using C with minimal BIOS interaction, but no option for using DOS or Disk Basic environments so far.
After selecting MSX (BIOS) as the desired environment, the “Hello World” program will be automatically loaded into the IDE.
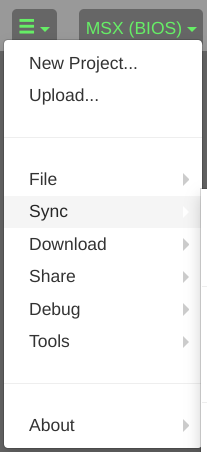
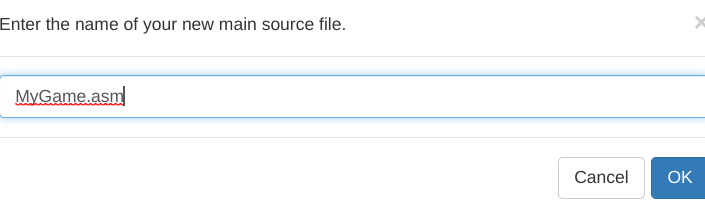
From the top-left menu, also known as the “hamburger menu“, we can select the “New Project” option to start our work. It’s important to follow a standard for the file names so we don’t create a confusing structure and make the whole development process a complete mess (been there, done that).
We will suggest a naming standard during the series that could make the code work easier. Since we will start from scratch here, in the end, everyone will be familiar with the content of each file.
Other options from the menu that are noteworthy are the “File”, where is possible to add, rename and delete files in the project; the “Download” which allows transferring the project as a source file, ROM image, or the complete project as a ZIP; and also the “Share” option to create a video or even a playable link from the project.
But the most interesting option to me is the “Sync” option, which opens the possibility to pull and push the code to Github.
During the articles we will use Github as much as possible so we can at the same time protect our work, observe the evolution of the code and also return to previous versions in case we break something, which we will probably do a lot.
If you don’t have an account on Github, now it’s a good time to create one, and it’s free! After creating the account or just logging in on an existing one, we only need to click on “Sign in to Github…” and follow any instructions provided in the new window, and the services will be connected.
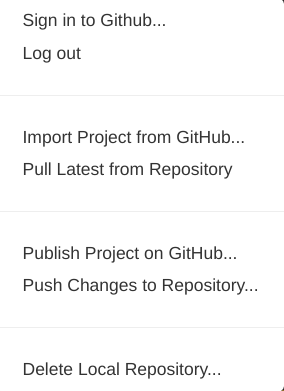
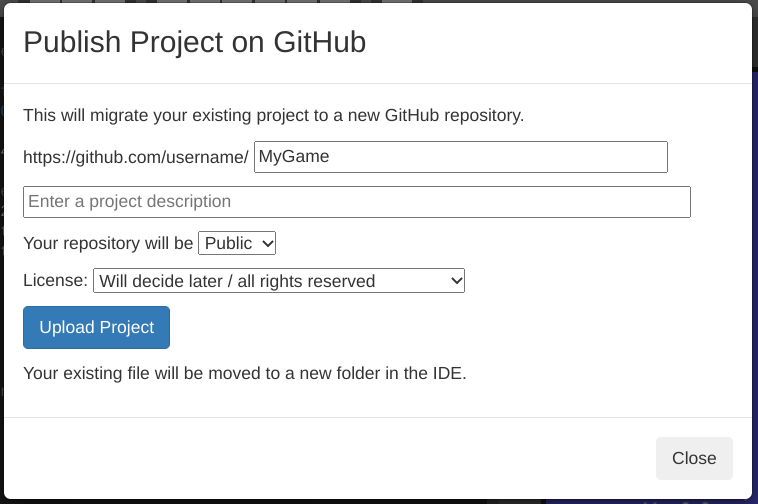
The first thing you will want to do next is to use the “Publish Project on Github…”, and for that, there are some things we need to define in this step. If you don’t want to allow public access to your code then it’s necessary to change the repository type to “Private”, and the type of license is a personal choice so we won’t touch on this subject here.
Another advantage of having the code published on Github is that you can use another IDE to keep developing the code such as VSCode locally, synchronize your local code with the remote repository then pull the updated code from the repo to the 8BitShop IDE for tests. If you have another person working on the code or even a complete team, then the Github repository is more than required.
Every journey starts with a first step
Now that we have our initial encounter with the web IDE tool and also learned a little about it and its possibilities, we can consider as started our gaming development quest. Next article we will jump straight to the assembly code and discuss more of the 8BitShop IDE and Github functionalities, as well as the other online tools we will use during the process. I hope you are as excited about this journey as we are, and we invite you to provide your feedback and suggestions whenever you feel like it.
After studying, reading, and playing a lot with assembly code on the MSX, I finally decided to start to develop a proper game. As Voltaire once said – “Perfect is the enemy of good”, and trying to achieve the best knowledge possible about the subject would end in a quest that could take years and…